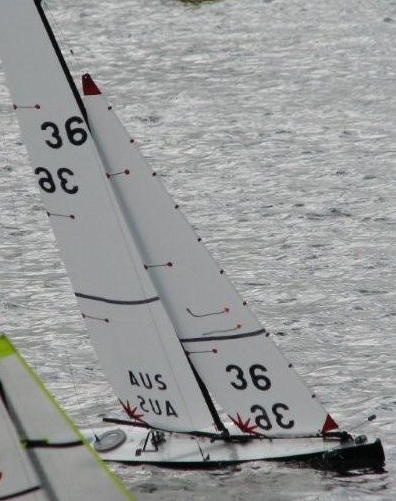
We recently built 5 x No 1 Rigs for Colin and some rc sailing friends in Singapore - They specified our rig kits with flat wire, ball raced goosenecks, micro adjustable outhauls, ball raced jib swivels, cunningham rings and a mixture of 11mm Round and 11.1mm Groovy Masts. - We took some pics whilst building the rigs, to provide this rig building guide. Use this guide in conjunction with the full size rig plans and instructions provided free with our kits

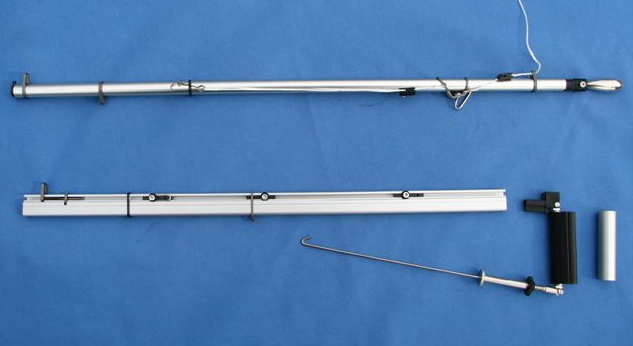
This is our standard Rig Kit with Groovy Mast Booms after assembly with ball raced Gooseneck
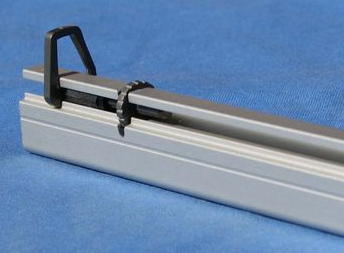
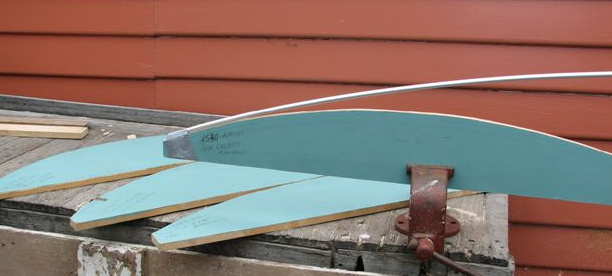
Micro Adjustable Outhaul (Part#104g) fitted Mast Prebend using jig - note other jigs for different masts
Forward prebend is put in the mast to create forestay tension when the backstay is pulled on, and can be anywhere from 25 mm for softer alloys down to 5 mm for high tensile masts. It depends on the individual sailor, and the cut of the sail, but usually 5 to 10 mm of forward prebend is best for high tensile masts, and about 15+ mm for alloy and groovy masts. Only put prebend in the top 700 to 800mm of the mast - If you don't want to make a jig, a large car tyre or similar can be used. - Proceed carefully and don't over do it.
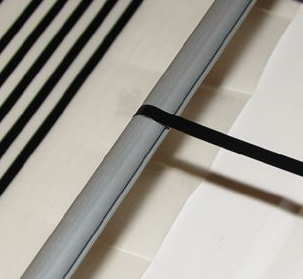
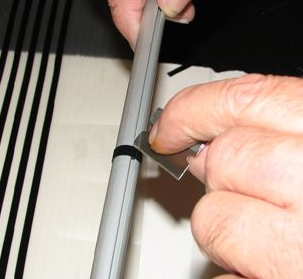
Put 5 to 6 mm measurement bands on mast, using strips of sticky back or signwriters tape and trim when using groovy mast section - Always triple check you have got these bands in the correct position before proceeding - the black plastic mast head fitting can be used as the top measurement band.
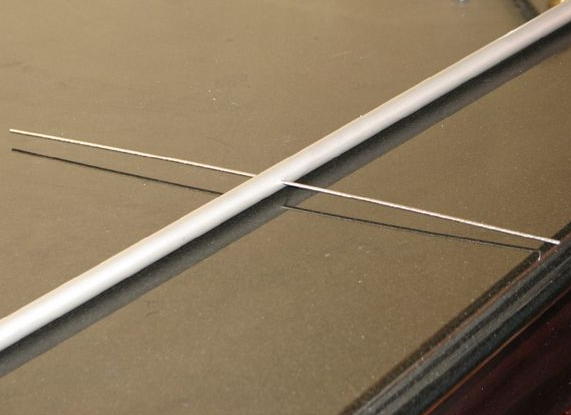

Carefully drill the spreader holes, and using a piece of wire to ensure the spreader holes are 90 degrees to the forestay hole, drill the forestay hole in the front face of mast (this is the side that bends up if using prebend).
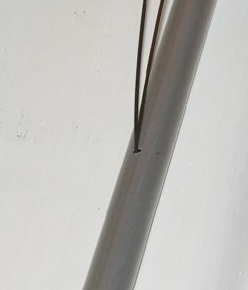

The sidestay attachment points are usually drilled into the sides of the mast, but they can be attached at a central point in the front face of the mast, which is how we have built these rigs - having the sidestays attached in this way, is the equivelent of having your deck eyebolts moved back about 5mm, which gives more fore and aft stability to the mast - (if you move your eyebolts back this prevents your main boom going out to its fullest, so this is the best way to add extra support to your upper mast) - The sidestays are threaded through the hole in the mast and out the top.
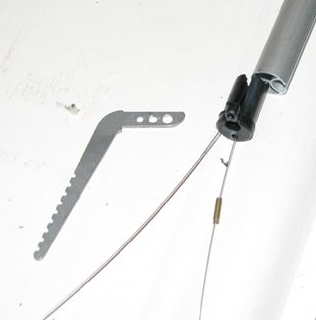

The wires are threaded through the mast head fitting and crimped onto the backstay crane
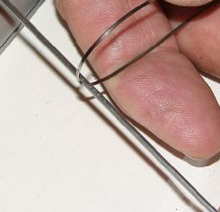
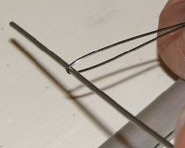
Be careful when bending wires - never flatten turns with pliers, especially with flat wire - Always do a continuous turn around a wire or small screwdriver, and push the crimp up to create an eye, when using round rigging wire, you can use a crimp, or finish with a barrel turn, which can be done by hand or you can use the Dubro Kwik Twist tool to do the job (See Accessories)
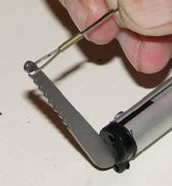
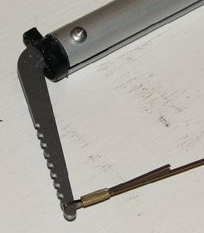
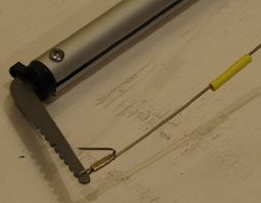
Put Backstay on and a location screw through masthead fitting - you can bend tail back over crimp to prevent slip
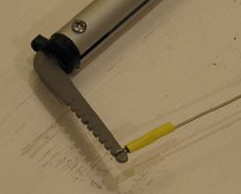
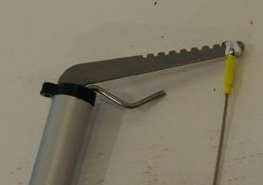
Apply heat to heatshrink and tie dyneema line around wire to secure to crane and apply a drop of Cyano glue and make wire swivel
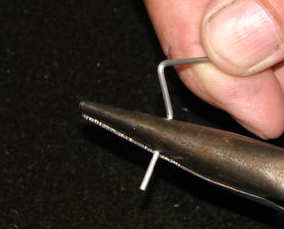
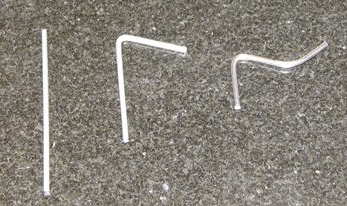
Fitting the Gooseneck usually best done after all holes are drilled, but before fitting wire sidestays etc.
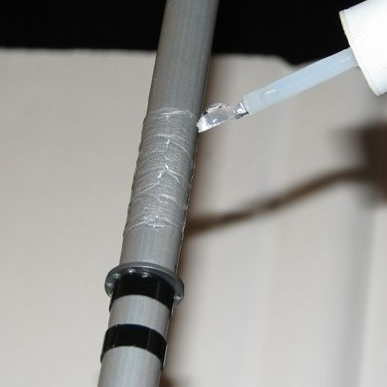
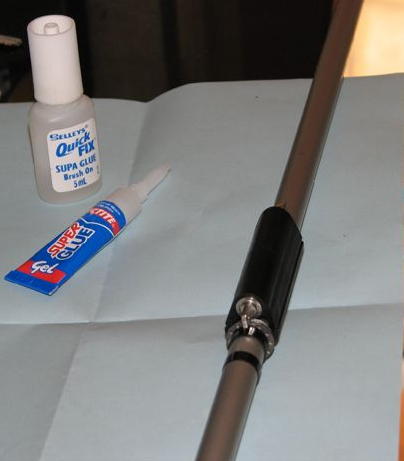
The cunningham ring when used, is held in place by using another few turns of tape to prevent it moving up the mast and glued to mast with cyano glue. The Goosneck body is glued in position, using the measurements from the instructions provided, a few mm down from the ring, with Cyano gel, making sure it is perfectly positioned on the centreline at the back of the mast - Using a long wire through the spreader holes, will help in lining everything perfectly - Allow the glue to set, then proceed to drilling the screw holes. In this case we have used the No 11c ball raced gooseneck, but the same applies for the No 15 standard clip on gooseneck or the No 5 type gooseneck.
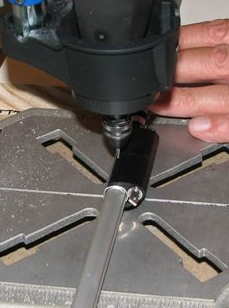
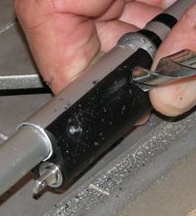

Drill holes through gooseneck body and mast and countersink holes for screwhead - when driving screws, make sure screwdriver fits head properley and backoff as you screw to create thread - If it is very hard to screw, back off and enlarge hole slightly, as forcing it can break off the screw.
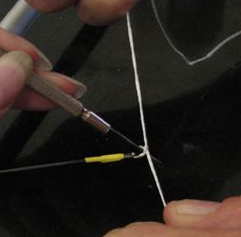
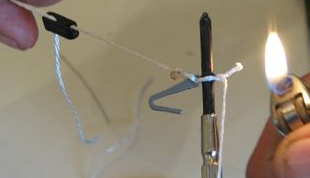
Tie forstay and topping lift lines to forestay hook, and adjustment line to backstay wire. I prefer to tie a small loop rather than hard onto the hook, this allows lines to move freely. Tie a standard reef knot and apply a dab of cyano glue, and carefully burn small knobs in end of line to prevent lines slipping undone.

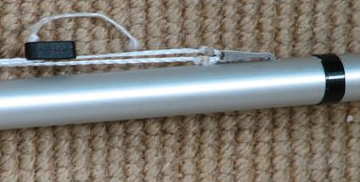
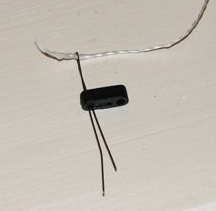
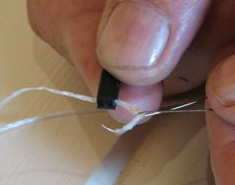
To make threading bowsies easy, just get a bit of fine rigging wire and bend it to create a tiny loop, thread line and pull through hole.
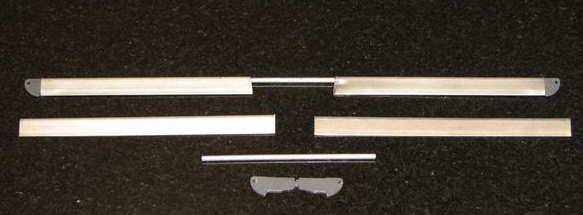
Cut spreader arm to length, at an angle to fit mast, then glue and crimp wire into one arm
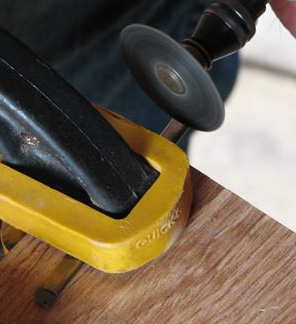
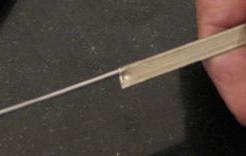
Once all this is completed, cut the bottom of the mast to length, and fit the rigging scews, (allowing enough adjustment for new wire to stretch a bit), then fit booms, sails and downhaul lines and then....... GO SAILING

